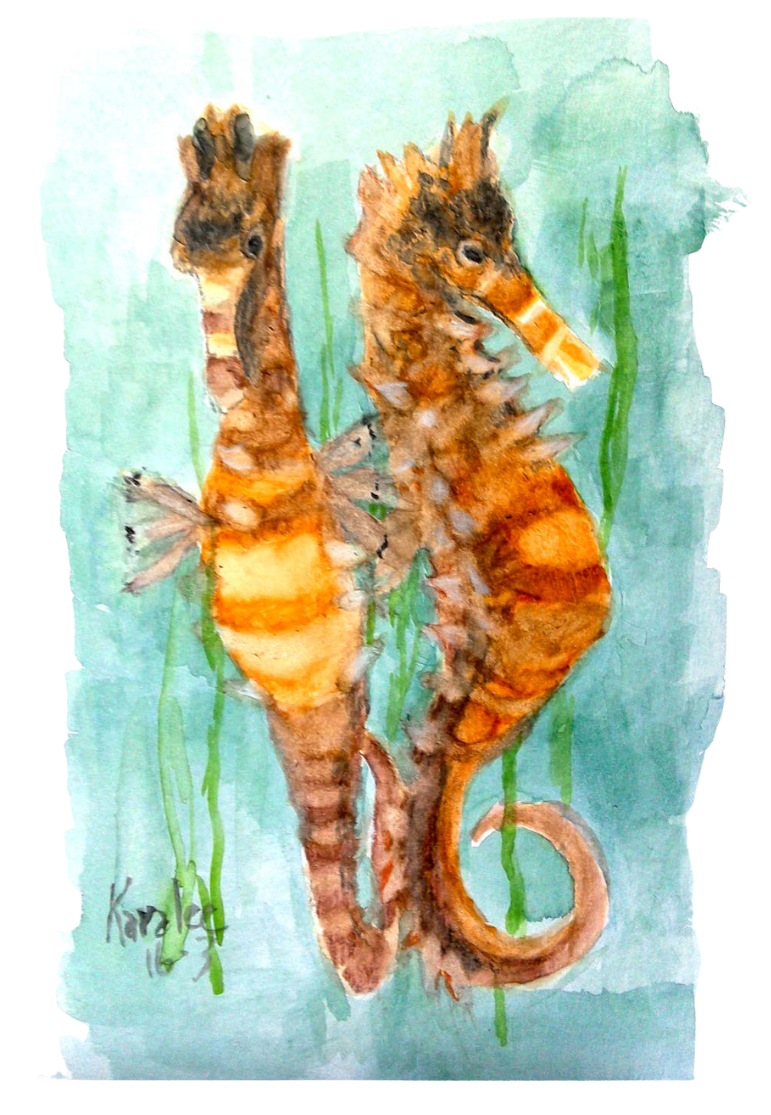

Watercolor Techniques Every Beginner Should Know Today
Published September 3rd, 2026
Starting watercolor painting can feel a little daunting, especially if you believe you need formal training or special talent. I'm here to tell you that's not true. I began as a self-taught artist, learning through trial and error over many years, and I've spent decades helping others-especially mature adults-find joy and confidence in their creative expression. Watercolor doesn't have to be intimidating or complicated. It's about gentle exploration, patience, and rediscovering the simple pleasure of moving paint and water across paper.
In this relaxed space, there's no pressure to be perfect or produce masterpieces. Instead, it's about connecting with your own rhythm and curiosity. The tips ahead come from my own hands-on experience, designed to make watercolor approachable and enjoyable. Whether you're picking up a brush after years or just starting out, keep an open mind and a kind heart toward your creative process. Let's make watercolor a peaceful, playful part of your day.
Introduction: Watercolor Made Friendly and Doable
Watercolor Techniques for Beginners: Tips from a Self-Taught Artist sounds formal, but I promise this will feel more like a quiet chat at a kitchen table than an art lecture. I am a self-taught watercolor artist in my 50s, with decades of practice, mentoring, and plenty of paint-splattered paper behind me.
Nothing here comes from theory alone. I learned through trial, error, and many muddy paintings taped to my walls while I figured things out. I also spent years teaching adults who felt rusty, unsure, or convinced they "weren't artistic," so I know how tense that first brushstroke can feel.
You do not need fancy supplies, art school, or some mysterious natural talent to start. A few basic tools, a bit of guidance, and a willingness to play are enough. I will walk through beginner-friendly watercolor techniques, simple tools that actually help, and clear ways to avoid common headaches like muddy colors, overworked paper, and streaky washes.
The pace stays slow and relaxed, with small, doable steps. My aim is that you feel calm and curious, not judged or intimidated, as you return to your own creative space.
Essential Watercolor Tools for Beginners
Before any brush touches paper, I like to sort out the basics. Simple, reliable tools keep those first sessions calm instead of frustrating. You do not need a shopping cart full of supplies. A small, thoughtful kit will carry you a long way.
Brushes come first. I suggest three to start: a medium round, a small round, and a flat.
Round brushes (sizes 6-10 for medium, 2-4 for small) handle most work. They point for detail and also hold enough water for soft washes.
Flat brushes (around 1/2 inch) make strong edges, broad strokes, and clean stripes of color.
Look for synthetic or a synthetic blend. They spring back, hold water well, and cost less, which eases the pressure while you practice.
Paper matters more than paint at the beginning. Thin paper buckles, pills, and tears, which makes watercolor feel harder than it is. I like:
140 lb (300 gsm) watercolor paper
Cold press surface for a bit of texture and forgiving edges
Blocks or taped sheets stay flatter. A basic student-grade pad is fine at first, as long as it is true watercolor paper, not "mixed media" sketch paper.
For paints, a small set of pans or tubes in primary colors plus a few extras keeps things simple. A warm and cool version of red, blue, and yellow, a burned earth tone, and maybe one green give plenty of options without crowding your palette. Student-grade paints are enough while you learn how much water you like to use.
A plain white palette or plastic plate works. Wells for mixing puddles and a few open areas for broader blends keep things flexible. I often leave dried color in the palette and wake it up later with a damp brush.
For water containers, I use two jars: one for rinsing dirty brushes and one for clean water. It sounds fussy, but it keeps colors clearer and helps avoid those common watercolor mistakes beginners run into, like instant mud.
Once brushes, paper, and paint feel familiar in your hands, the techniques themselves-washes, soft edges, and layering-start to make more sense. Knowing what each tool can do lets you relax and focus on how the water moves, instead of fighting with the materials.
Basic Watercolor Techniques to Try Step-by-Step
Now that brushes, paper, and paints are sorted, it helps to walk through a few basic watercolor techniques in a simple order. I like to think of these as gentle exercises, not tests. Each one teaches a small habit that supports the next.
Wet-on-wet: soft, flowing shapes
Wet-on-wet means placing wet paint into wet paper. It creates soft blooms and blurry edges that feel dreamy and loose.
How to do it:
With your medium round brush, paint a clean water shape on the paper, about the size of your palm.
Touch the edge of that damp area with a loaded brush of color. Let the pigment wander on its own.
Tip the board slightly and watch the paint drift. Add a second color along one side and see how they mingle.
Stop before puddles form. Too much water gives cauliflower blooms, which are fine to study but hard to control.
What it gives you: soft skies, misty trees, gentle backgrounds. It trains your eye to notice how far water travels on cold press paper.
Wet-on-dry: clear edges and control
Wet-on-dry means wet paint on dry paper. With your small round, this approach keeps lines sharp and shapes defined.
How to do it:
Leave the paper completely dry. Load your brush with a creamy mix, not too drippy.
Pull a simple line, then a rectangle, then a small circle.
Rinse, pick another color, and paint a new shape that touches an old one but does not cross into it.
Notice where edges stay crisp and where you accidentally add too much water and cause a soft bleed.
What it gives you: windows, branches, boats, and any detail that needs a clear outline.
Flat and graded washes
A wash is a smooth area of color. Your flat brush shines here.
Flat wash:
Mix a generous puddle of one color in your palette. It should look like strong tea.
With the flat brush, pull a horizontal stroke across the top of the paper.
Without rinsing, reload with the same mix and pull the next stroke just below, slightly overlapping.
Continue down the page, keeping the shine consistent.
Graded wash:
Start as you did for the flat wash.
After the first two strokes, dip just the tip of the brush into clean water before loading more color.
Work downward, adding a touch more water into the mix each pass so the color gently fades.
What it gives you: skies that move from deep color to light, water reflections, and soft backgrounds.
Dry brush: texture and sparkle
Dry brush uses less water and more pigment so the texture of the paper shows through.
How to do it:
Blot your medium round or flat brush on a paper towel until it feels just damp.
Pick up thick paint from the pan or palette.
Drag the side of the brush lightly across the paper, letting the bristles skip over the surface.
Vary pressure to see broken, scratchy lines and rough patches appear.
What it gives you: bark, grass, stone, or the sparkle on water when sunlight skips across it.
Layering (glazing): depth without mud
Layering means placing one transparent wash over another after the first has dried. Your patience here prevents muddy color.
How to do it:
Paint a simple flat wash with a light color. Let it dry fully; the paper should feel cool but not damp.
Mix a second, slightly stronger color. With your medium round, glaze it over part of the first wash.
Leave some of the first color showing. Notice where they overlap and create a new tone.
Repeat with a third layer only after the second is dry.
What it gives you: shadows, form, and richer color without scrubbing. It pairs well with that two-jar water setup, because clean water keeps each pass clear.
Simple brush strokes for control
Before a full painting, I like a small sheet just for stroke practice. This quiet page removes pressure.
Using the small round, paint rows of thin lines: light pressure, then firmer pressure, then a mix of both in one stroke.
Switch to the medium round and paint leaf shapes: press, lift, twist slightly, then taper off.
With the flat brush, make vertical and diagonal stripes, paying attention to how the square edge starts and ends.
Each of these step-by-step watercolor techniques works with the tools already in your kit. As you repeat them, your hand grows steadier, your sense of water and pigment deepens, and beginner watercolor painting starts to feel less mysterious and more like a quiet, steady practice.
Mixing Colors and Understanding Water Control
Color mixing and water control sit at the heart of watercolor. Once those two feel calmer, everything else starts to fall into place. The paint itself is simple: pigment plus water. The rest is just practice and noticing.
I like to keep primaries straightforward: one warm and one cool red, blue, and yellow. From those six, I mix almost everything. When two primaries meet, they create secondary colors: red with yellow gives orange, yellow with blue gives green, and blue with red leans toward violet. The exact hue shifts depending on which red, blue, or yellow touches the other and how much water sits in the mix.
Think of three basic paint consistencies on the palette:
Tea: lots of water, little pigment. Transparent, pale, good for first layers.
Coffee: balanced water and pigment. Mid-strength, useful for most shapes.
Cream: more pigment, less water. Darker, richer marks and details.
Load your brush and watch how those mixes behave. A tea mix glides and dries light. Coffee holds shape without feeling harsh. Cream stays put and leaves strong marks. This simple vocabulary keeps watercolor brush techniques less confusing.
Muddy color usually comes from three habits: overmixing, using dirty water, and layering too many unrelated hues while they are still damp. To avoid that, I limit mixes to two, at most three, colors. I stir just enough to lose harsh streaks, then stop, leaving slight variation in the puddle. That variation often looks prettier on paper than a perfectly stirred, flat color.
Water on the brush matters as much as water in the paint. After rinsing, I tap the ferrule lightly on the jar edge, then touch the bristles to a paper towel. The brush still holds moisture, but it no longer drips. That small pause keeps unexpected blooms from racing across the page.
The paper's dampness adds another layer. There are three stages I watch for:
Shiny wet: paint spreads fast and softens edges.
Moist, satin look: paint still moves, but more slowly. Great for gentle blends.
Dry: paint stays where it lands and edges stay crisp.
When I want a smooth blend between two colors, I often start with a moist surface rather than fully wet. I paint the first color in a band, rinse, blot, then bring the second color up to it with a slightly damp brush. I soften the join with small side-to-side strokes, barely touching the paper. The idea is to let the water carry pigment instead of scrubbing back and forth.
For practice, I like a simple chart. On a scrap of watercolor paper, paint a row of yellow rectangles using the tea mix. While they are dry, glaze a row of thin blue stripes across the first, a coffee-strength blue across the second, and a cream-strength blue on the third. Watch how the depth changes while the base yellow still shows. This also trains your eye to see when strong mixes start to dull what sits underneath.
Then reverse the exercise and notice which color combinations feel fresh together and which pairings lean toward brown. Browns are not failures; they teach which primaries fight each other. Over time, those "oops" mixes turn into useful shadow colors, and water control starts to feel more like a quiet conversation with the paint than a struggle.
Common Pitfalls Beginners Can Avoid
Even with good tools and a feel for water and color, watercolor still throws a few classic curveballs. These missteps are not failures; they are how I trained my own eye and hand over many years.
Overworking the paper shows up as fuzzy spots, pilling, or little bald patches where the surface lifts. It often comes from scrubbing at a shape that feels "wrong." When that urge hits, I pause instead. I blot gently with a clean tissue, then leave it. Once the page is dry, soft glazing or a darker shape often hides the area better than more scrubbing ever would.
Too much water is another frequent tangle. Puddles lead to backruns and unpredictable blooms. Rather than chasing them with the brush, I tilt the board so the extra water slides to one edge, then touch that bead lightly with a corner of paper towel. The paint stays; only the excess water lifts.
Paper that fights back creates a surprising amount of frustration. Thin or non-watercolor paper buckles, tears, and refuses to hold a clean wash. When I see that happening, I treat the page as a practice sheet for color mixing or brush marks and reach for heavier watercolor paper next time. Good paper quietly supports everything already learned about brush control and water.
Impatience with drying times often muddies colors or smears a detail that looked fine a minute earlier. I treat drying as part of the rhythm: paint a passage, step away, then return once the shine has gone. The techniques from earlier-clear layers, simple mixes, and gentle water control-work best when each stage has a chance to settle before the next one begins.
Finding Joy and Growth in Your Watercolor Practice
After the techniques, tools, and small troubleshooting tricks, watercolor settles into something quieter: a gentle habit. Progress comes less from big projects and more from steady, low-pressure practice that fits into ordinary days.
I like tiny studies for this. A five-minute sky, a little row of tree shapes, or one simple cup on the table keeps watercolor in reach without demanding a masterpiece. Nature offers easy prompts: a leaf, a shell, a cloud shape out the window. Quick color notes like these slowly train the eye and hand.
Some days, I set aside structure and simply move color around the page. No subject, only marks, puddles, and soft blends. That kind of free play loosens the grip of perfectionism and shows where personal preferences live: favorite hues, edges, and textures.
Guidance from someone who has walked through the same hesitations often shortens the learning curve. A calm set of eyes can spot where you already have a natural touch and where a small shift in brush angle or water use will ease frustration. Over time, watercolor practice becomes less about getting it "right" and more about noticing growth: cleaner mixes, lighter hands, steadier washes, and a kinder inner voice when something goes sideways.
If you hold onto anything from these beginner watercolor techniques, let it be this: curiosity first, judgment last. The pages that feel awkward today teach as much as the ones you love tomorrow, and every brushload of color adds to a quiet, personal archive of your own creative life.
Starting with just a few simple tools and basic techniques, you can gently find your way into the world of watercolor painting without pressure or confusion. Remember the importance of selecting the right brushes, paper, and paints to keep your practice enjoyable, and take time to watch how water and color interact. Avoiding common pitfalls like muddy colors and overworked paper comes with patience and learning to listen to your materials. My approach welcomes mature adults who want to reconnect with their creativity in a relaxed setting, free from expectations. If you ever feel stuck or unsure, personalized guidance can make a big difference in nurturing your artistic path. If you're curious about growing your skills with friendly support and a focus on rediscovering joy in art, consider reaching out to learn more about classes and instruction available at Graphical Reflections in Ellenton. Your next brushstroke could open a new chapter of creative delight.